
to Print on Demand Income
What Is Zazzle, and How Does It Work?
Zazzle is an online marketplace for customizable products. Creators publish designs on items
such as invitations, mugs, tote bags, business cards, and wall art. Customers can purchase
available designs and personalize products where the creator has enabled suitable options.
For physical products, the basic sequence is straightforward: you prepare a design, apply it to a
product, publish the listing, and earn a royalty when an eligible sale occurs. Zazzle manages
manufacturing, shipping, and customer service. You concentrate on the creative work and
attracting buyers. [1]
This model removes the need to purchase stock before making a sale. It does not remove
competition, design work, or marketing. Think of Zazzle as a production and selling platform
that supports your business, rather than a system that automatically supplies income.
Why Personalization Can Make a Product More Useful
A shopper often wants something for a specific person or occasion. A generic floral card offers a
visual style; a floral birthday invitation with editable names, dates, and venue details solves a
clearer problem. That practical difference should guide your design choices.
Consider a teacher appreciation collection with a personalized mug, thank you card, and tote
bag. Consistent lettering and colors connect the products, while each item serves a distinct
purpose. These are sample concepts to test, not claims about guaranteed demand.
The strongest starting question is simple: who needs this product, and why would they choose
it? A focused answer makes decisions about artwork, wording, customization, and promotion
much easier.
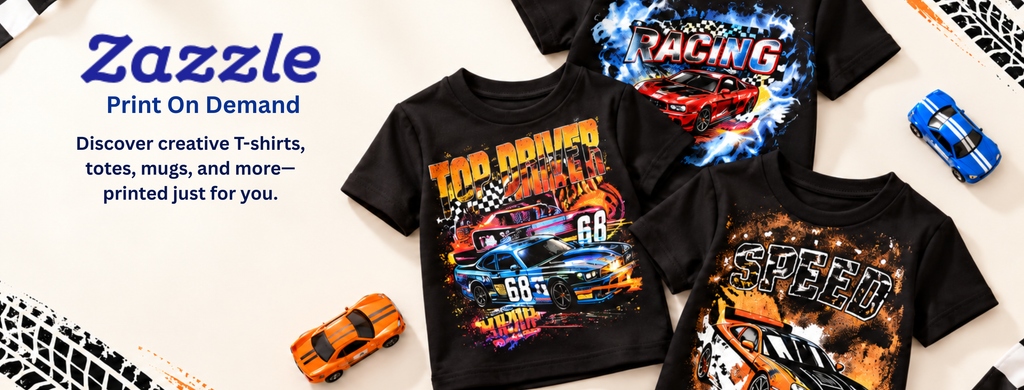
Explore Zazzle and browse products.
Step 1: Choose a Customer and a Small Product Range
Start with one audience rather than designing for everyone. Possible directions include
botanical wedding stationery, gifts for pet owners, or colorful classroom accessories. Choose a
subject you understand well enough to make useful design decisions.
Study existing listings to understand product formats, personalization needs, and how
customers describe the occasion. Look for ways to offer a distinct composition or a clearer
experience. Research should inform your work, not become an excuse to copy another creator.
Write a short brief before designing: target customer, occasion, visual style, editable details,
and starting products. A focused brief prevents you from spending hours transferring an
unsuitable design onto unrelated items.
Step 2: Set Up Your Store and Prepare Original Artwork
Creating a Zazzle account and Creator store is free. Add a recognizable banner, profile image,
and concise description explaining what customers will find. Complete your payment details
early so missing information does not become a problem later. [2]
Prepare artwork for each product’s actual design area. Check the product template, image
quality warnings, safe areas, and any bleed requirements. A composition that works on a poster
may need substantial changes for a mug or a narrow label.
Use artwork and fonts you own or have permission to use commercially on merchandise. Keep
license records. Avoid copying brand logos, characters, photographs, or slogans simply because
similar products appear online. Ownership of your original content remains yours, while
uploading grants Zazzle the rights needed to provide its services. [3]
Step 3: Build a Product That Is Easy to Personalize
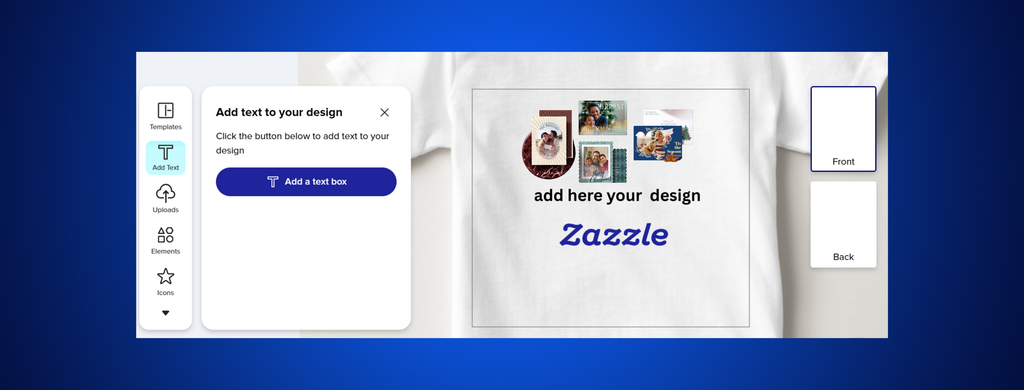
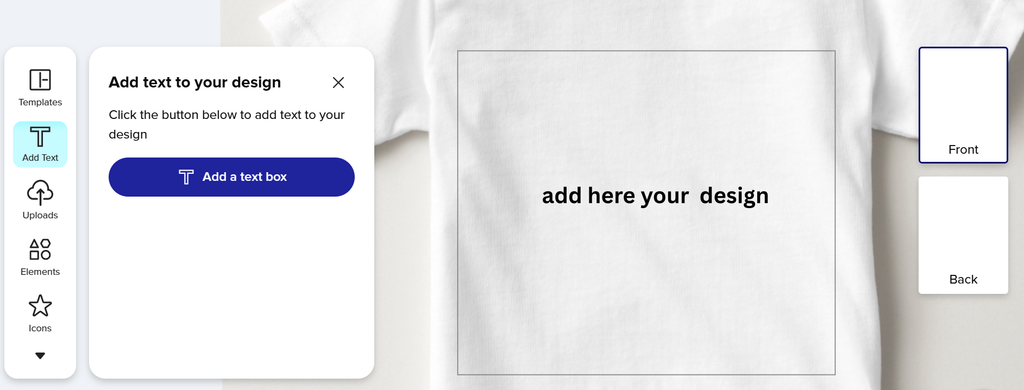
Begin with a blank product from the Create Your Own area, then use the design tool to upload
artwork and arrange text. Where appropriate, create editable fields for the details customers
actually need to change. [2]
Test those fields with both short and long names. Check whether text becomes cramped,
moves into an unsafe area, or loses contrast against the background. Preview the product
carefully from every available angle.
Order a sample when your budget allows, especially before promoting a design heavily. A
preview is useful, but a physical sample can reveal issues with scale, readability, and color
expectations. Publish a smaller collection you have checked thoroughly before expanding it
Step 4: Understand Royalties, Fees, and Real Profit
For most physical products, the published royalty range is 5% to 50%, with exceptions for
certain product types. Zazzle recommends 5% to 10% as a competitive starting range for
physical products. Higher royalties can increase the customer’s price and do not automatically
produce higher total earnings. [4, 5]
A marketing royalty fee may apply when a sale comes through an Ambassador or Zazzle’s
marketing efforts. The current department schedule deducts 35% to 50% of gross royalties
where applicable. Setting a royalty above 10% also triggers an excess royalty fee equal to 5%
of the gross royalty. [3, 4]
For illustration, suppose a sale produces a $3 gross royalty and a 40% marketing royalty fee
applies. That fee is $1.20, leaving $1.80 before other applicable adjustments. This is a
simplified example, not a prediction of what a particular product will earn.
Your business profit also depends on your own costs: samples, software, advertising, and time.
Track earnings after platform adjustments, then subtract business expenses. Do not confuse
the buyer’s purchase price, your gross royalty, and your final profit.
Step 5: Write Listings That Answer Buyer Questions
Use a specific title that describes the product, theme, and intended use. For example,
Personalized Botanical Teacher Thank You Mug communicates more than Beautiful Gift. Choose
relevant tags and categories without adding unrelated popular keywords.
In the description, explain the design, who it suits, and which details are editable. Separate
your artwork description from physical product specifications, and avoid inventing material or
delivery claims. Make the first sentences useful to someone deciding whether the item meets
their needs.
Organize related products into collections. A shopper planning an event may appreciate
matching invitations, labels, and thank you cards. Coherent presentation makes browsing
easier and gives your store a recognizable purpose.
Step 6: Promote Products with Helpful Content
Show how your design fits a real situation. A short personalization demonstration, a gift guide,
or a coordinated party example gives people a reason to click. Pinterest images and articles on
your own website can introduce a collection to readers interested in that theme.
Keep promotional images accurate and direct visitors to the relevant product or collection.
Explain what buyers can customize rather than relying on generic sales language. If a link earns
you commission, disclose that relationship clearly near the recommendation.
Review which topics generate useful visits and actual purchases. When visitors do not buy,
inspect the offer, price, previews, and customization experience before assuming you need
more products. Change one meaningful element at a time so you can learn from the result.
Keep a simple weekly record of products published, promotional posts, available traffic data,
sales, cleared earnings, and expenses. Note which changes you made and when. Even a
notebook can reveal whether a collection deserves more attention or whether its presentation
needs another round of careful improvement.
Creator Royalties and Ambassador Commissions Are Different
Creators earn from sales using their designs. Ambassadors can earn referral commissions
through qualifying tracked links. Under the published schedule, cross-promotion links offer 15%
of Net Referral Sales, while eligible self-promotion links can generate combined royalties and
referral commissions of 35% to 50%, depending on department. [4]
The self-promotion percentage is a combined earnings figure, not an extra percentage to add to
your royalty. Eligibility, attribution, and applicable deductions still matter. Use the correct links
generated through your account and read the current program terms before planning a
campaign.
Getting Paid and Planning Your First Month
Zazzle requires complete payee and tax information. Its regular minimum payment thresholds
are $50 for PayPal and $100 for checks; payment methods also depend on currency. Once
earnings become earned and payable, the stated schedule allows payment within 45 days after
the relevant month ends. Check your account’s status rather than assuming an order creates
an immediate payout. [6]
For your first month, spend week one researching one audience and preparing a small
collection. In week two, build and test your products. Use week three to improve listings and
create promotional content. In week four, review results and identify what to improve. These
milestones measure work you control, not promised sales.
Frequently Asked Questions
o I need to buy inventory? No. Zazzle handles production and fulfillment for physical products
sold through its platform. You may still choose to buy samples. [1]
Can beginners use Zazzle? Yes, but beginners still need to learn product layout,
personalization, and listing quality. Simple, carefully tested designs are a sensible starting
point.
Is income guaranteed? No. Results depend on demand, competition, presentation, pricing, and
promotion. A store can receive few sales or none, particularly while you are testing ideas.
Can I sell my original designs elsewhere? Zazzle describes its arrangement as nonexclusive.
Check any separate licenses or agreements affecting assets you use. [3]
What should I do first? Select one audience, create one useful product, test the customer
experience, and publish a clear listing. Build your next products from what you learn.
Build a Store Worth Returning To
Zazzle can make physical product selling more accessible by handling the operational work
behind each order. Your contribution is the design, the audience insight, and the reason to buy.
Start with a focused collection, understand your earnings, and improve steadily. A useful
product and a clear customer experience provide a stronger foundation than uploading large
quantities without a plan.
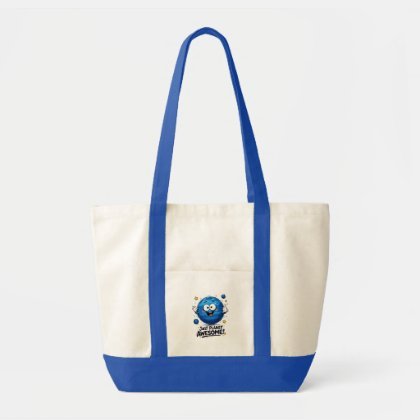
Our Collection In Zazzle
28.78 $
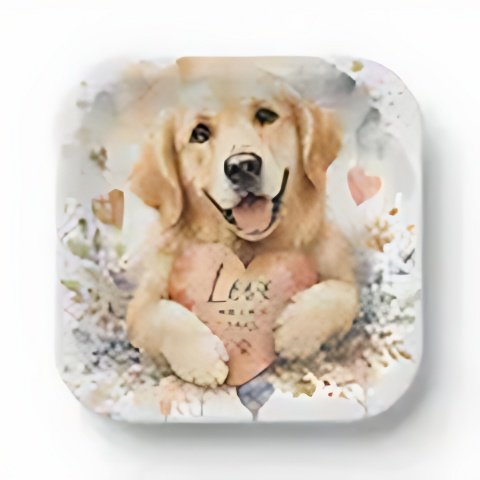
$1.66 per paper plate
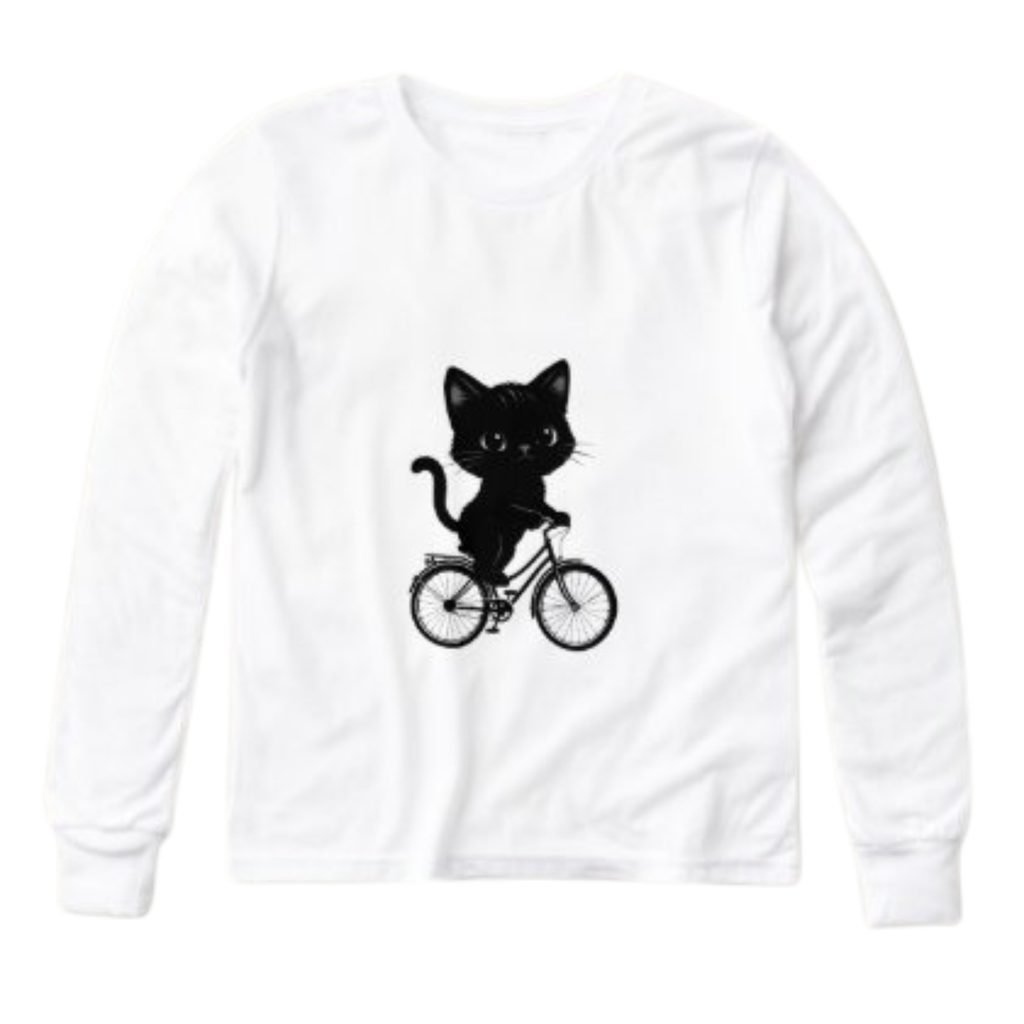
35.83 $
